Checklists
Office Move Equipment Checklist for Asset Tracking
A practical office move equipment checklist for tracking laptops, monitors, furniture, and shared gear through departure, arrival, and reconciliation.
TL;DR
- Freeze a pre-move asset list before packing starts, then verify the same assets at departure and arrival.
- Use one exception log for missing, damaged, delayed, and misrouted items so follow-up stays accountable.
- The move is only complete when locations and workstation assignments are reconciled at the new site.
Match office-move checklist queries to practical departure, arrival, and reconciliation controls rather than generic relocation advice.
- Inventory Audits & Compliance Hub · hub overview
- Inventory Audit Checklist: What to Verify and How Often · related article
- How to Track Shared Office Equipment Without Losing Control · related article
- Inventory Management Tools with Role-Based Access Guide · related article
Audience: Office, IT, and operations teams relocating equipment between sites or floors
How To Run Inventory Sessions · guide
Asset Assignment History · feature page
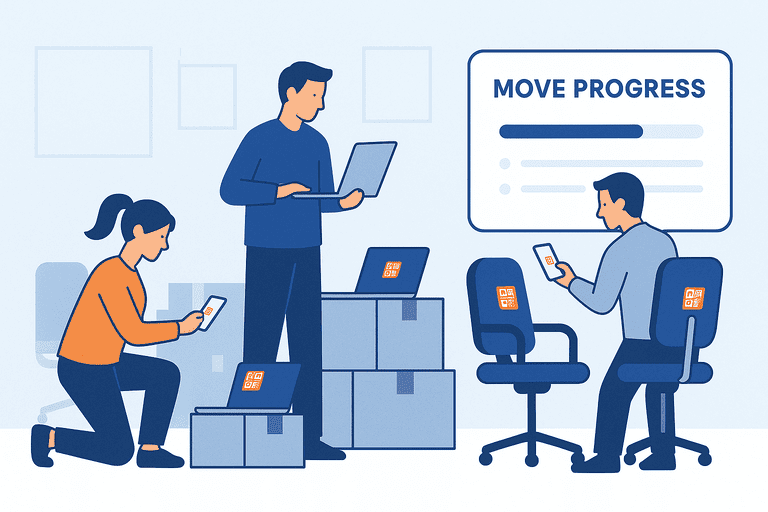
Use this office move equipment checklist to track laptops, monitors, printers, furniture, and shared gear before, during, and after relocation.
Introduction
An office move is one of the fastest ways to create inventory drift.
Assets change rooms, temporary staging areas appear, ownership gets blurred, and the team discovers missing adapters, monitors, and peripherals only after people are meant to be working again.
This guide is a practical office move equipment checklist. It focuses on control points that reduce losses and speed up post-move reconciliation rather than on general relocation planning.
If you are coordinating the move from an operations perspective, the broader workflow context is here: Solutions for Office Managers.
TL;DR
- Do not wait until move day to count assets. Freeze a pre-move list first.
- Track each item through three checkpoints: pre-move verification, departure scan or signoff, and arrival reconciliation.
- Keep one owner for exceptions so damaged, missing, and unassigned items do not disappear into email threads.
The Minimum Move-Control Checklist
| Move phase | What to verify | Minimum data to capture |
|---|---|---|
| 2-4 weeks before move | What exists and who owns it | Asset ID, category, location, assignee or custodian |
| Packing week | What is actually being packed | Box or zone, destination area, exceptions |
| Loading day | What leaves the old site | Departure confirmation, missing items, visible damage |
| Arrival day | What reaches the new site | Arrival confirmation, destination room, damage notes |
| 1-3 days after move | What is usable and placed correctly | Final location, workstation gaps, replacements needed |
That sequence matters more than the specific tool you use.
1. Start With a Pre-Move Asset Freeze
Before boxes appear, establish the version of the asset list that the move will be reconciled against.
That means:
- listing the equipment in scope
- confirming current room or area
- confirming assignee or custodian for assigned items
- flagging items already in repair, storage, or loan status
For most teams, the biggest mistake is using an outdated register as the baseline. If the source list is wrong, the move report will be wrong too.
A short verification session before the move is usually enough: Inventory Audit Checklist: What to Verify and How Often.
2. Decide What the Move Team Will Track
Do not track only expensive devices. Track the items that create operational friction when they disappear.
Typical in-scope categories:
- laptops and desktops
- monitors and docks
- printers and networking gear
- meeting-room equipment
- shared accessories and spare kits
- desks, chairs, and other assigned furniture when relevant
If your office has shared equipment pools, include a named custodian for each pool. That keeps responsibility clear when items are temporarily staged.
For shared-resource workflows outside the move itself, see the Shared Equipment & Checkout Workflows Hub.
3. Label by Destination, Not Just by Asset Type
During an office move, category labels are not enough. You also need a temporary move label that tells the team where the item should end up.
Useful move labels include:
- destination floor or room
- team zone
- packing batch or box number
- special handling flag
Keep the permanent asset identity separate from the temporary move routing label.
That prevents a common problem where the move team writes room notes on the asset list and the main register becomes messy afterward.
If you already use QR or barcode labels, scan or verify at each checkpoint. If not, even a fixed manual asset ID is better than free-text box descriptions.
4. Use Clear Custody Rules on Move Day
Every item should be attributable to one of these states:
- still in old office
- packed and staged
- loaded for transit
- received at new office
- exception: missing, damaged, or delayed
If an item cannot be placed in one of those states, it will be hard to reconcile later.
A simple move-day control model looks like this:
- verify the packing zone against the frozen list
- confirm what is loaded
- confirm what is received
- log exceptions immediately
Do not leave exception logging until the end of the day. Missing-item memory gets worse by the hour.
5. Keep One Exception Log
Office moves fail operationally when exceptions are scattered across Slack, email, handwritten notes, and moving-company paperwork.
Use one log for:
- missing assets
- damaged assets
- items that arrived in the wrong room
- items with unclear ownership
- replacement requests raised after move day
Each exception should have:
- asset ID or clear description
- last confirmed location
- current issue
- owner of the follow-up
- due date or next action
If your system supports assignment history, keep that timeline intact through the move: Asset Assignment History.
6. Post-Move Reconciliation Is the Real Finish Line
A move is not complete when the truck unloads. It is complete when the new site matches the approved asset record.
Run a short post-move reconciliation that answers:
- Did every workstation receive the expected equipment?
- Are shared rooms and meeting areas complete?
- Which items arrived damaged?
- Which items are still unassigned or in staging?
- Which records need location updates?
This is also the right moment to clean up stale ownership data that the move exposed.
If the team needs a tighter permissions model for updating locations and exceptions, use: Role-Based Permissions in Inventory Systems: What’s Safe.
7. A Practical Move Pattern for Small Teams
A simple and reliable pattern is:
- one pre-move register owner
- one destination map
- one exception log
- one reconciliation pass within three days of arrival
That is usually enough for small and mid-sized office moves.
The point is not sophisticated move software. The point is preserving accountability through a short period where locations change quickly.
8. Common Mistakes to Avoid
Treating the mover as the source of truth
Movers can confirm movement. They should not own the asset record.
Tracking only high-value devices
Small peripherals, spare gear, and room equipment create a lot of post-move friction when they go missing.
Updating locations only after the move
You need staged checkpoints, not one final update.
Letting every team use its own list
One shared source reduces reconciliation time later.
Conclusion
A good office move equipment process is simple: freeze the baseline, verify departure, verify arrival, and keep one exception log until reconciliation is complete.
That discipline prevents the usual post-move problems: missing equipment, mismatched workstations, and location records that stay wrong for months.
Related reading
- Audit Checklist for Compliance in ISO-Certified Workplaces
- Hidden Costs of Replacing Lost Office Equipment
- How to Track Shared Office Equipment Without Losing Your Mind
- Asset Check-In/Out Flow Design: UX That Reduces Errors
- IT and Office Equipment Maintenance Schedule (Small-Team Template)
Methodology
- This checklist was reviewed as an operational control page for office, IT, and operations teams relocating tracked equipment between sites or floors.
- The workflow prioritizes custody checkpoints, exception handling, and post-move reconciliation rather than generic relocation planning.
References
- CIS Critical Security Control 1: Inventory and Control of Enterprise Assets · Center for Internet Security
- FEMA Property Management Inventory Guidance · U.S. Government Accountability Office
FAQ
What should be reconciled first after an office move?
Start with assigned workstations, shared meeting-room gear, and any equipment flagged as missing or damaged in transit. Those are the items most likely to disrupt operations immediately.
Do we need to track only expensive equipment during a move?
No. Low-cost peripherals and shared accessories often create disproportionate operational friction after a move, so they should be included if they affect workstation readiness or shared-room functionality.
Who should own the move exception log?
One named internal owner should manage the exception log even if movers, facilities, and IT all contribute updates. Shared ownership is usually how move issues stay unresolved.
Try InvyMate
Start tracking assets with QR codes and scheduled audits.